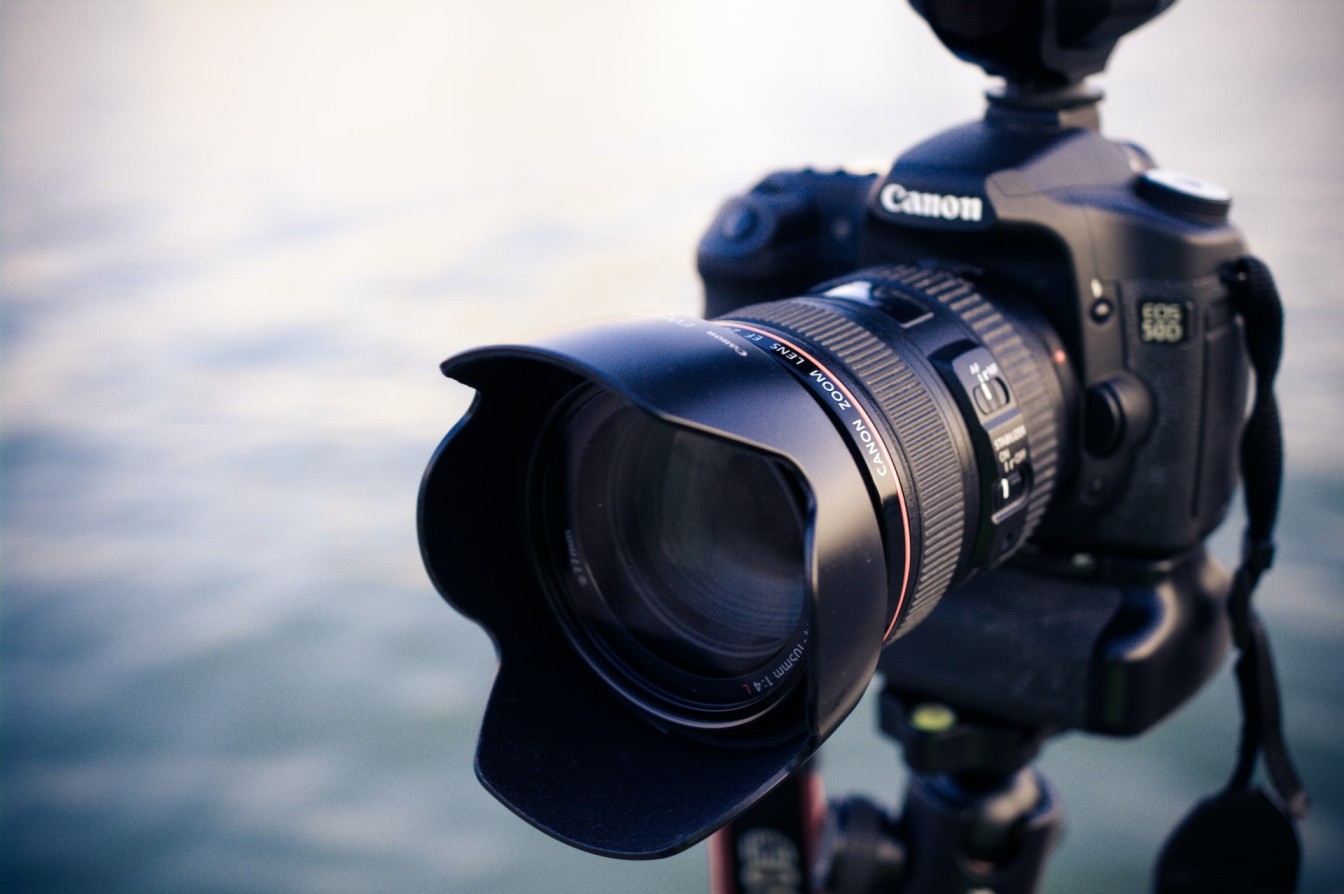
For a beginner, the world of photography can be very intimidating. There are so many different camera modes and settings to choose from, and it seems like all the experts just want to overwhelm you with technical jargon that doesn’t really tell you much at all! In this beginner’s guide to camera modes, we’re going to break down each mode and give you an idea of when you should use it and when you shouldn’t. First, let’s get started!
Introducing the Different Camera Modes
The first and most important thing you need to know about photography is the different camera modes. There are three main types of camera modes: Manual, Auto, and Better Photography. Manual mode is when the photographer takes charge of all settings and gets to choose exactly what they want their image to look like. Better Photography mode is a combination of Auto and Manual. It allows the photographer control over some features such as exposure compensation but gives the camera some leeway with other features such as ISO, white balance, shutter speed, and color saturation. Auto mode is the easiest way for beginners because it takes care of all of these things for you but can also be limiting if you want more control over your photos.
When to Use Auto Mode
Auto mode is the go-to camera setting for most people, but it doesn’t offer nearly as much control as manual mode. Auto mode does have some benefits, though. It’s the easiest way to take a picture with your phone or camera, and it will often do an adequate job of capturing a scene if you don’t need absolute control over the photo. If you’re new to photography, auto mode is worth sticking with for a little while before trying something more advanced like manual mode.
When to Use Scene Modes
Scene modes are great if you’re new to photography and want the camera to do most of the work for you. You can select the mode that best suits the situation, whether it be Portrait mode, Landscape mode or Sports mode. Scene modes will take care of your exposure and white balance so that you don’t need to worry about them as much. Auto Mode is where a lot of people start because it offers a simple way of capturing a good photo.
When to Use Aperture Priority Mode
The aperture priority mode is great for beginners because it allows you to control the depth of field and the camera will automatically adjust the shutter speed. This mode is best used when you want to create photos with a shallow depth of field, making your subject in focus while the background is blurry.
When to Use Shutter Priority Mode
Shutter priority mode is the perfect setting for shooting when you need control over your shutter speed. In this mode, you set the shutter speed, and the camera automatically sets your aperture to a value that will give you the correct exposure. Shutter priority is best used in low-light situations or when you want more control over how motion blur looks in your images.
When to Use Manual Mode
Although it is not the most popular mode, manual mode is a great way for beginners to get better acquainted with photography. Manual mode allows you to manually adjust the shutter speed, ISO, and aperture on your camera. This is a good place for beginners because it gives them more control over their photos. When you first pick up a DSLR or point-and-shoot camera, auto mode can be very daunting. Auto mode will let the camera adjust these settings on its own based on what it thinks you want. In manual mode, you have complete control over the three settings mentioned above and have the option of changing them as needed depending on what type of photo you are trying to capture.

Great